We will demonstrate how to use GIT and GITHUB to coordinate the development of the Appliance Store example covered in the “Functions – A Class Project” section. In this example a team of students will write an application that computes the commission of the employees in an appliance store. Each student will write a separate function to compute the commission for a different appliance using the same file. Github will allow combining all the functions in the same file.
[Click images to see the large version]
Step 1. Creating a GITHUB Account
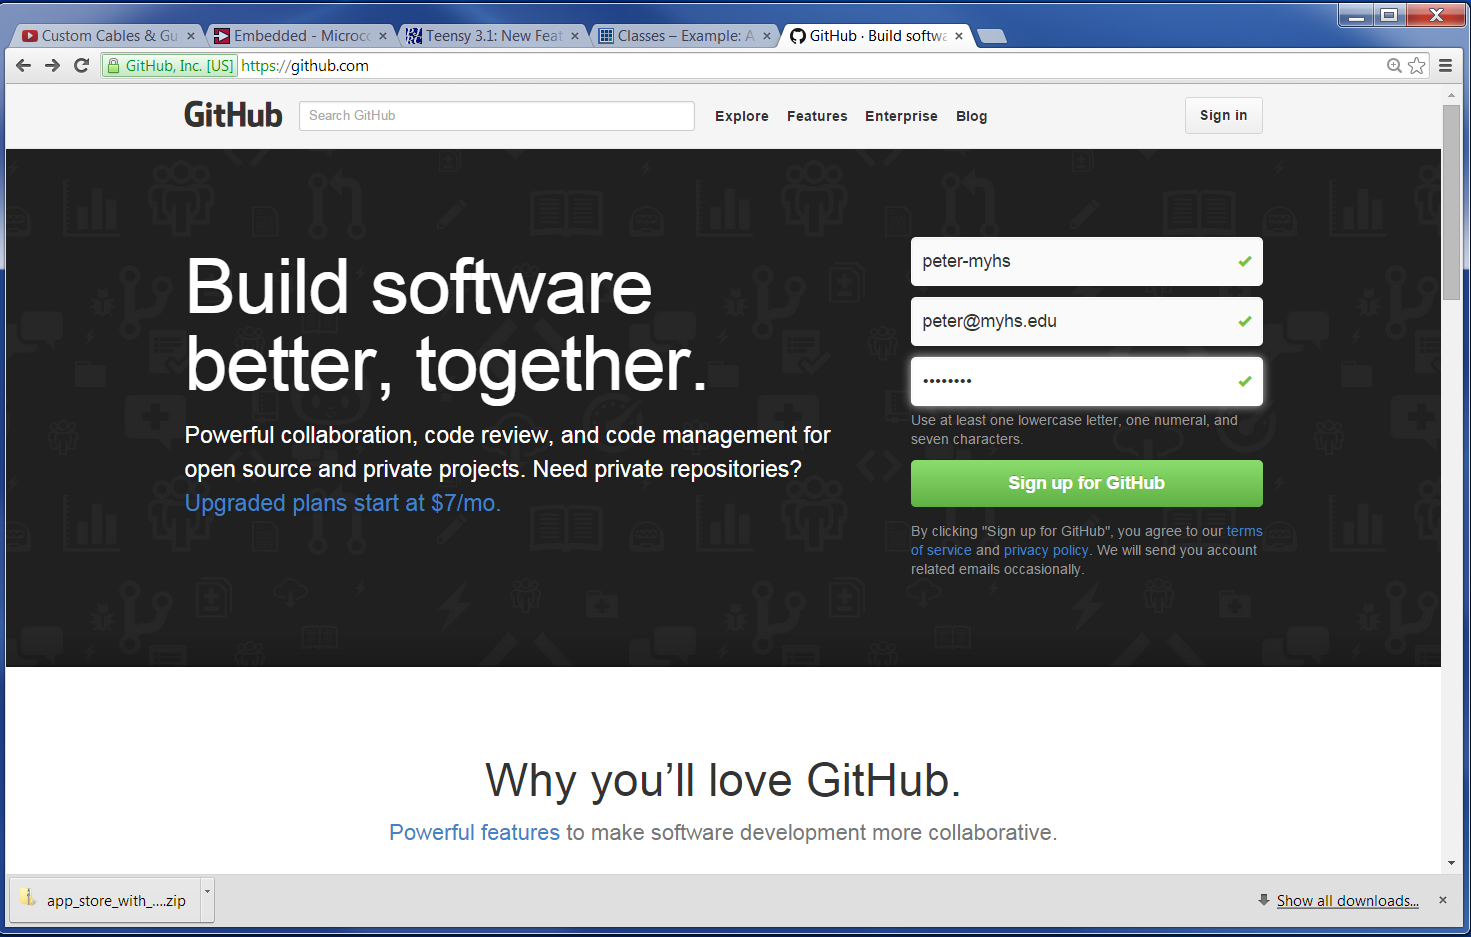
First you need to create a GITHUB account. You will need to connect to github.com and create an account. GITHUB is free for open source projects where the sources are public. Also you could create a private repository for free if you belong to an academic institution. When signing it is important that you give an e-mail address that has a .edu domain or other email address from an academic institution.
Step 2. Download GITHUB for Windows and Create the First Repository
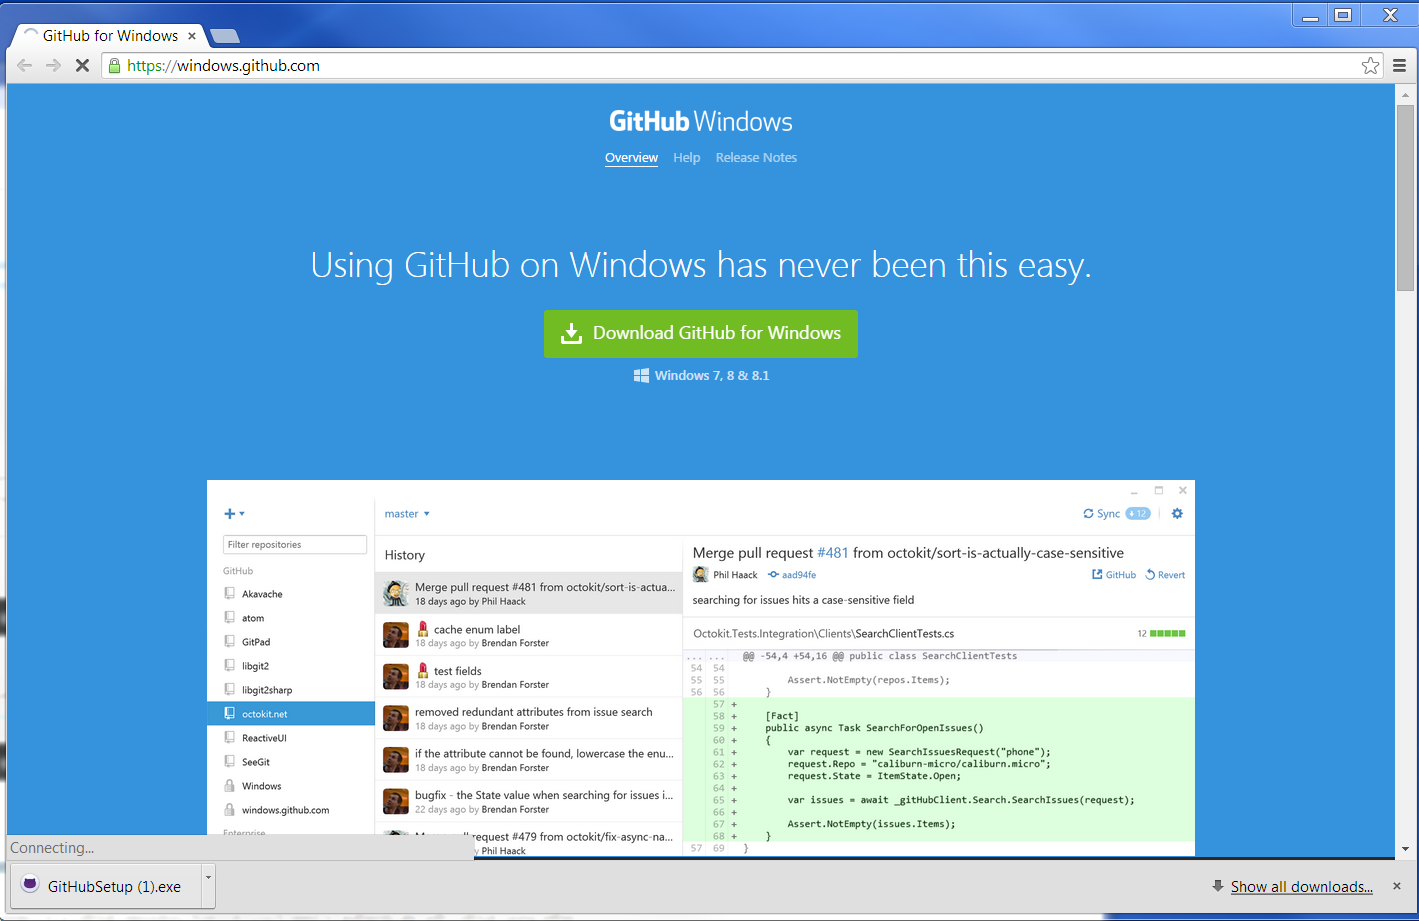
Download the program github for windows that will allow you create repositories, push, and pull changes. Then open the file and install it.
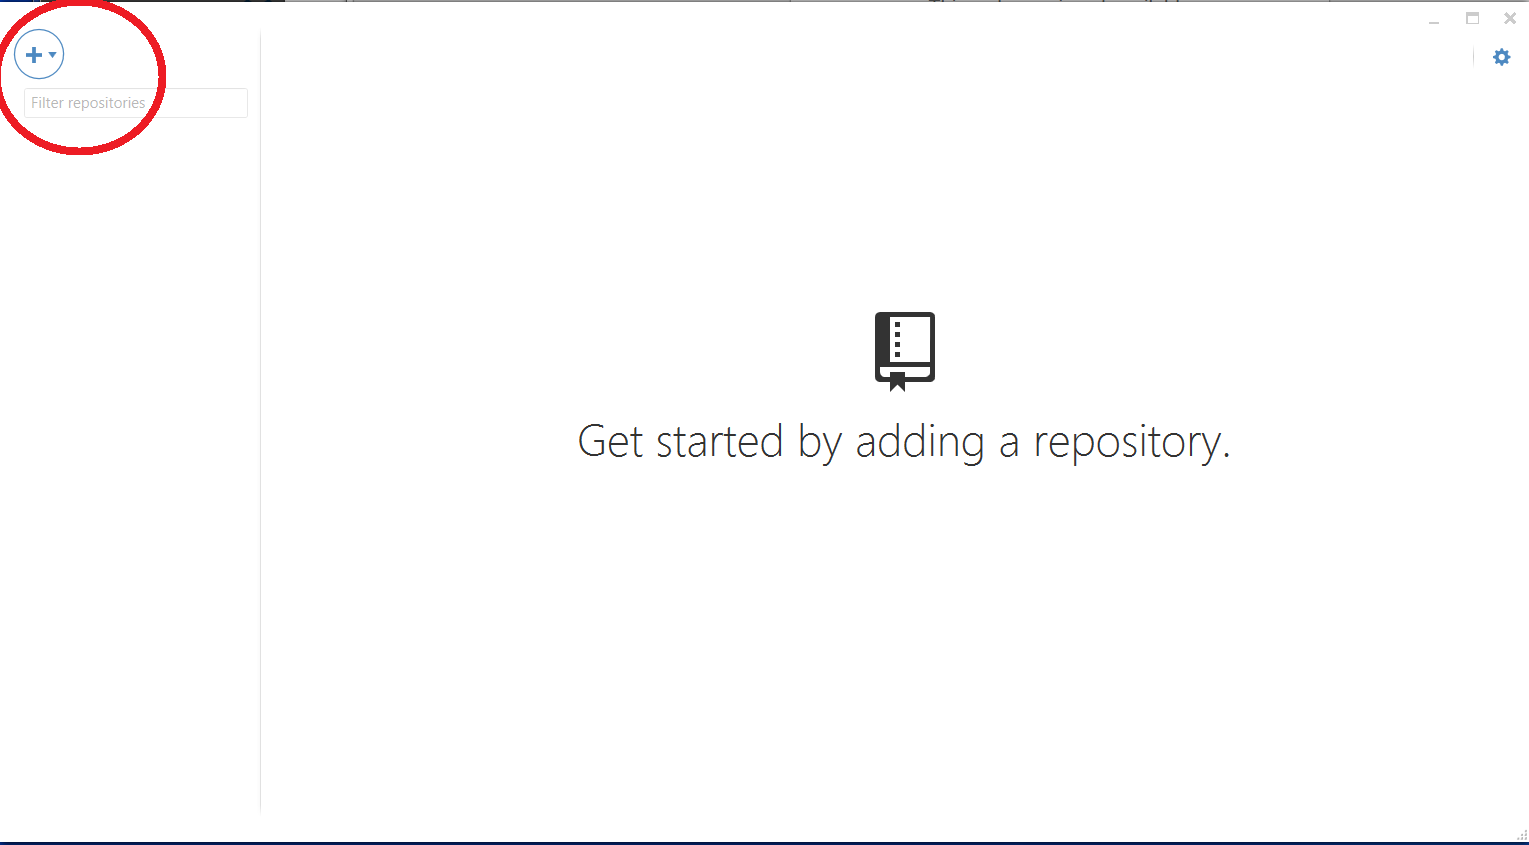
In the last screen of the installation “Get started by adding a repository” of the installation of the GITHUB on Windows select the “+” and create a new repository for your students.
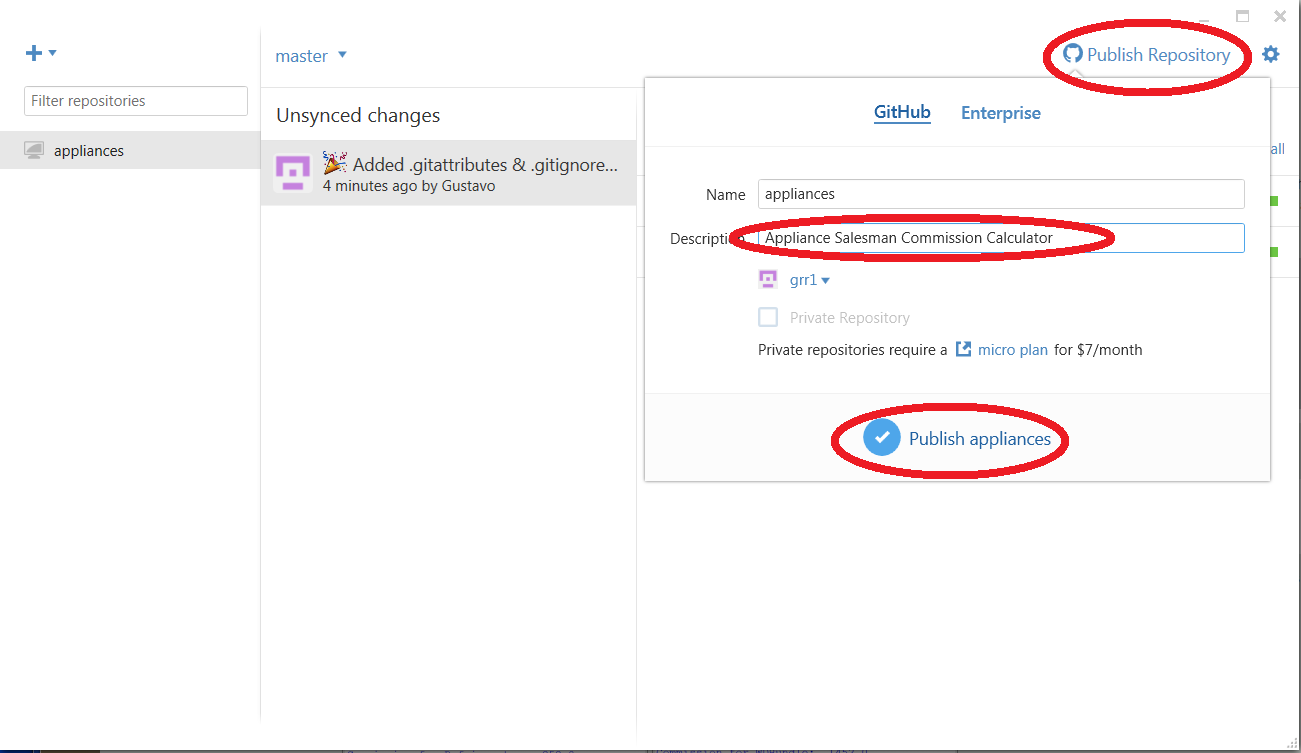
Select “Create” and type the name of the repository and the location of where you want to place a copy of it in your local computer. Select “Create Repository”

Finally publish the repository.
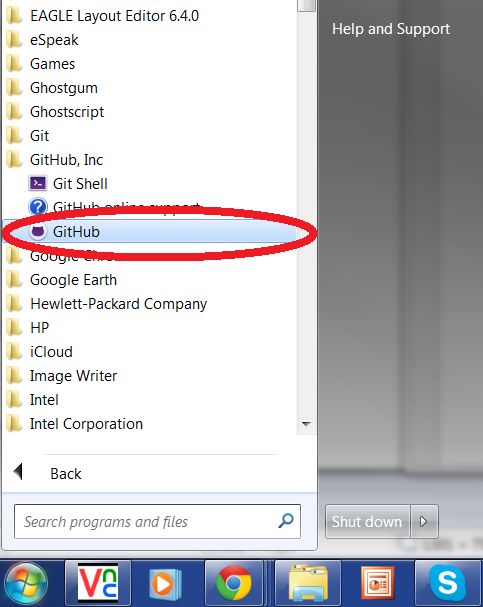
To open the GITHUB Windows tool once you close it go to Start->GitHub, Inc->GitHub
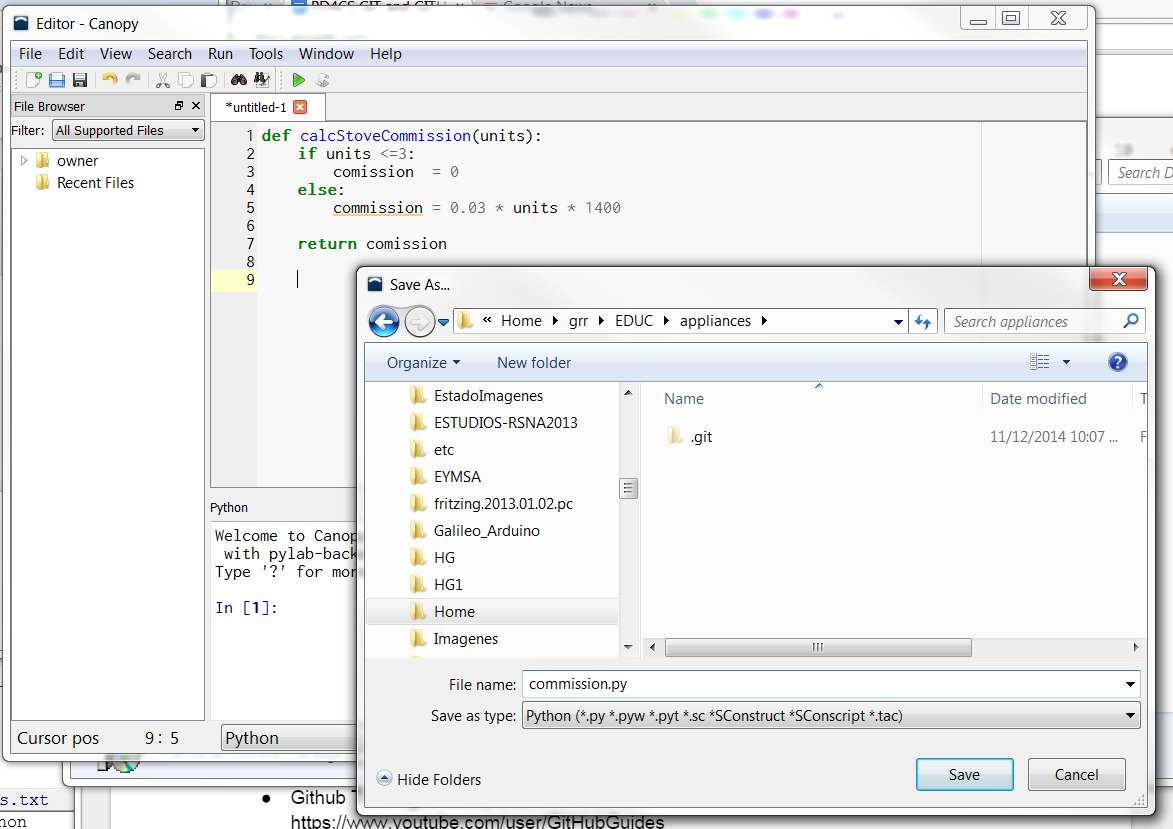
Step 3. Creating the file commissions.py
Create the file commisions.py that will contain the different ways to compute the commissions for the different appliances. The file is initially created and added to the repository.
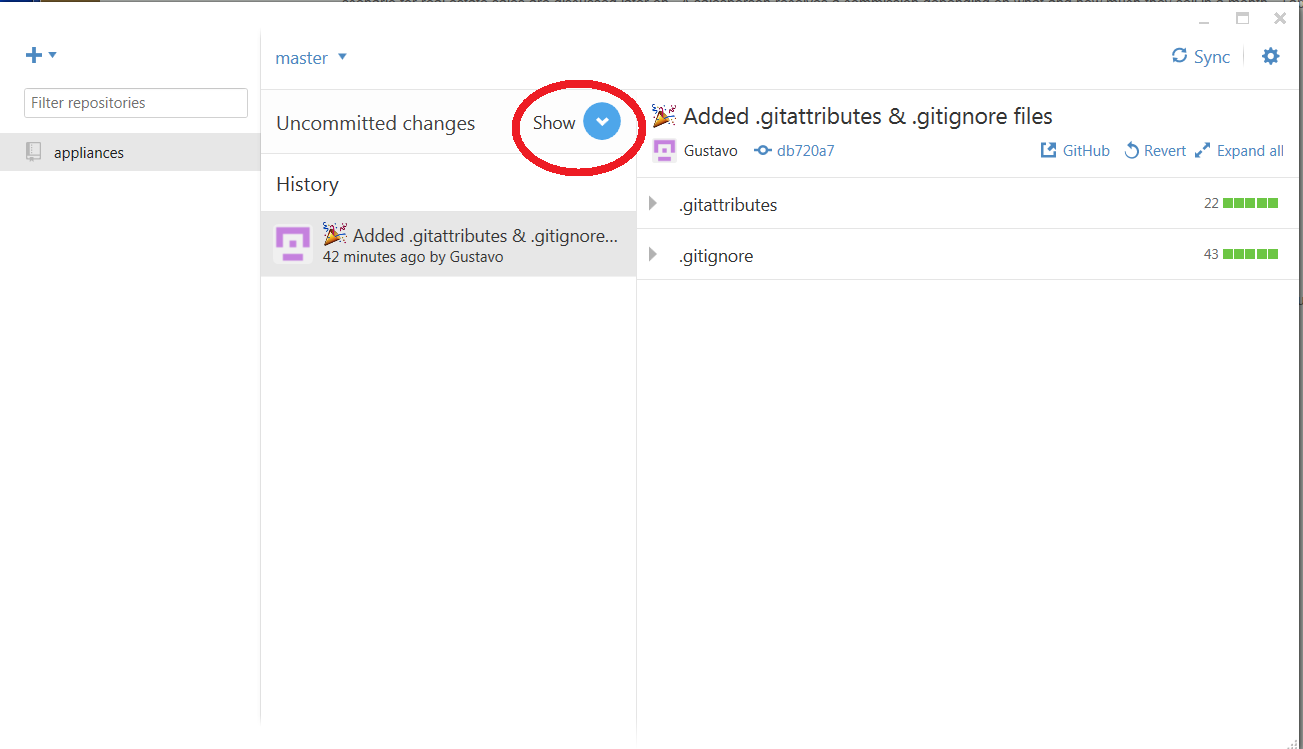
Step 4. Committing the changes
Now open the GitHub windows tool and select the tab “Uncommitted changes Show”.
Then fill up the summary and description field and click on the commit button.
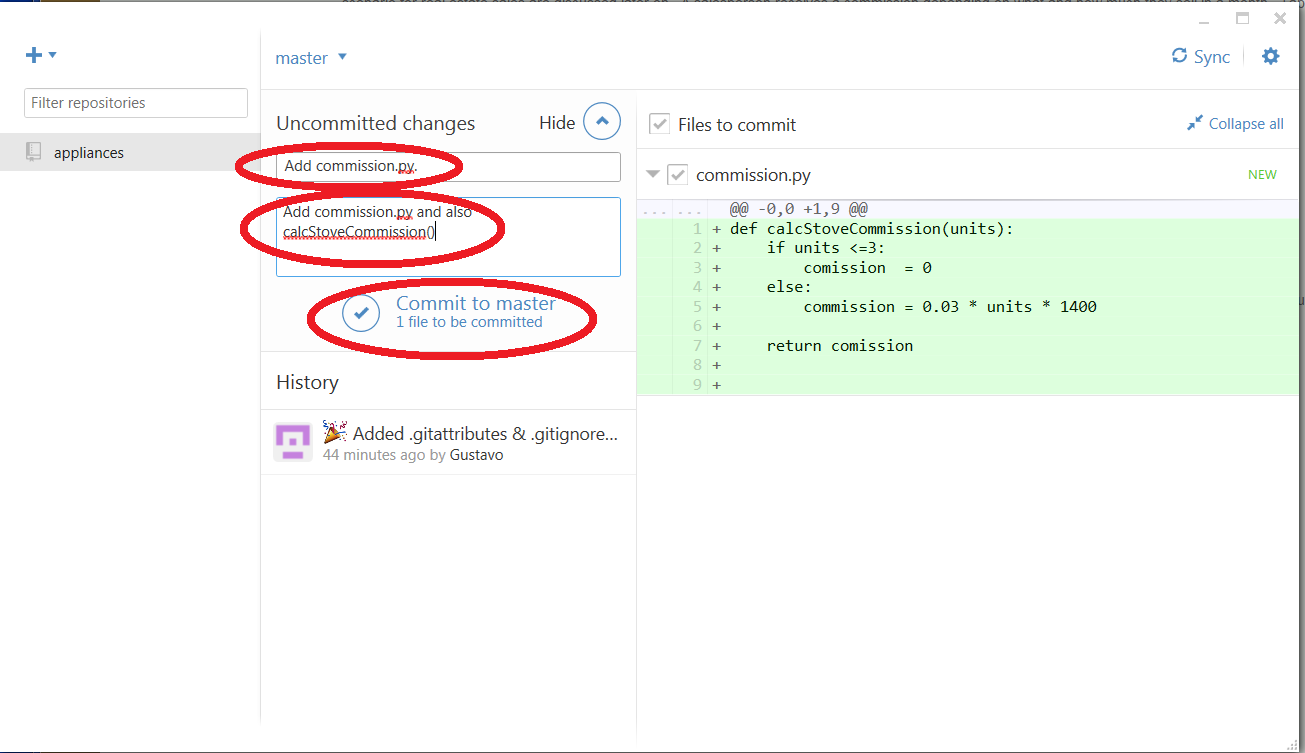
After committing the change, other users can “pull” the changes to bring them to their workspace.
Step 5. Pushing the changes to GITHUB
The previous step committed the changes into the local repository. However it is necessary to push the changes to the GITHUB server. For this press the Sync button.

